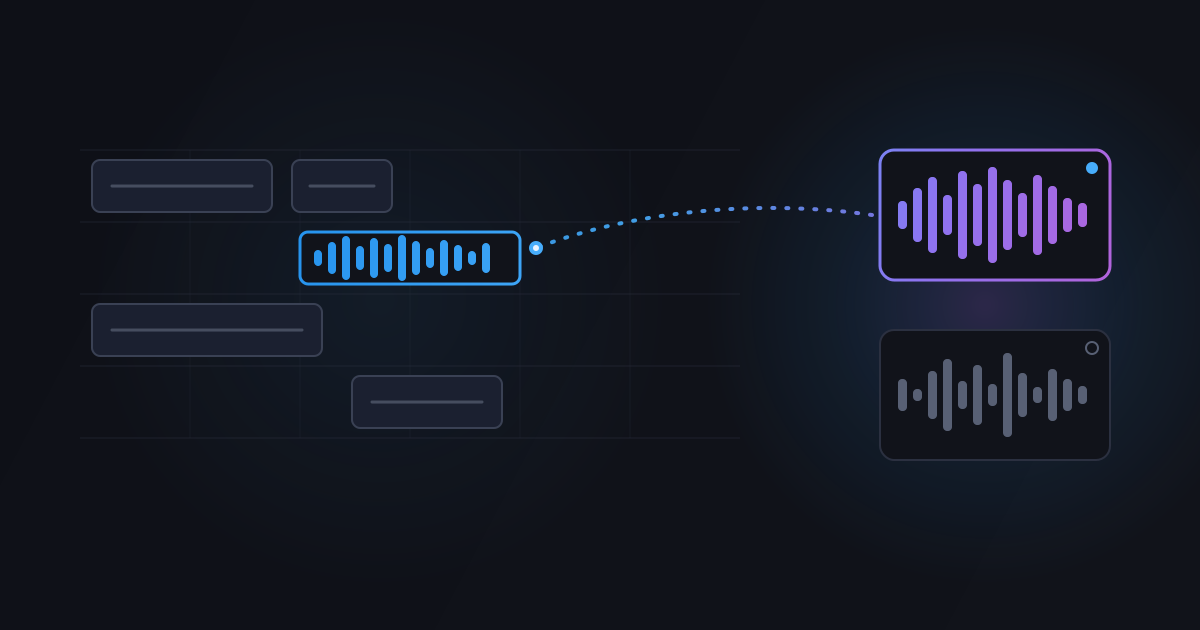
Ableton Live is where a huge share of our users spend their days, and it is one of the DAWs StudioPilot was built for from the start. This guide walks the whole path: installing the plugin, getting Live to see it, and a first real session where you generate a part, compare two takes, and drag the winner into your arrangement. None of it asks for new habits. If you can load a compressor on a track, you can do everything on this page.
A quick note on names: there is an unrelated product also called StudioPilot (at studiopilotmusic.com) that controls Ableton through external agents. This guide is about the StudioPilot plugin from studiopilot.tech, which generates audio inside Live rather than operating Live for you.
What you need
- Ableton Live 11 or 12. Any edition. StudioPilot is a normal plugin on a normal track, so there is nothing version-specific to configure.
- The StudioPilot plugin, free from studiopilot.tech/download. The macOS installer ships both VST3 and AU; in Live, use the VST3.
- Or skip the install entirely. The same tool runs in the browser at vst.studiopilot.tech, which is the fastest way to try it before touching your plugin folder. Everything below about generating applies there too.
Setup: three steps
- Run the installer. It puts the VST3 in the standard system location, so Live will find it without you pointing at any folders.
- Rescan in Live. Open Live's Settings (Preferences in Live 11), go to the Plug-Ins tab, and hit Rescan. StudioPilot appears in the browser under Plug-Ins, in the VST3 section.
- Drop it on a track. Drag StudioPilot onto a track like any other device. The full interface opens in the plugin window, and that window is where the rest of this guide happens.
That is the entire setup. No account linking inside Live, no routing diagrams, no companion app running in the background.
Tempo: nothing to configure
StudioPilot reads Live's tempo automatically. If your session sits at 92 BPM, the plugin already knows, and Make Beat follows the project BPM without you typing a number anywhere. Change the session tempo and the plugin follows along. This sounds like a small thing until you have spent an evening retyping BPM values into a browser tab; in practice it is the difference between a tool that lives in your session and one that visits it.
A first session, start to finish
Here is the loop you will actually use, in the order you will use it.
1. Bring in your audio
Load or drag your own audio into the plugin, anything up to five minutes: a bounced idea, a rough vocal, a guitar loop, a half-finished arrangement. This clip becomes the context everything else is generated against. You can also start from nothing with Make Beat or Make Loop if the session is still empty.
2. Ask for the part you are missing
- Add Instrument layers a generated instrumental part on top of what you loaded: keys under a vocal, a bass line under a beat, a lead over a chord loop.
- Add Vocals does the same for a vocal line, sung against your existing audio.
- Cover restyles a clip: same musical idea, different production, useful when the writing is right but the sound is not.
- Make Loop builds loops and one-shots from a description, handy for filling a drum rack or grabbing a texture.
3. Pick a take
Every generation returns two takes, A and B. They are two different readings of the same request, so audition both before judging the idea itself. Often one take has the right energy and the other has the right sound, and hearing them side by side tells you what to ask for next. Keep the one that works.
4. Drag it into Live
Take the winner and drag it straight from the plugin into Live's arrangement. It lands as regular audio on a regular track, which means everything you already know applies from that moment on: warp it, chop it, resample it, run it through your effect chains. The generated part stops being special the second it hits the timeline, and that is exactly the point.
What generating costs
Generation runs on credits, and the pricing is flat and easy to hold in your head:
- Add Instrument, Add Vocals, Make Beat, Cover: 10 credits each.
- Make Loop: 4 credits.
- Analyze: free, always.
A free account starts with 1,000 credits, no card. Starter is $1 the first month (save $11), then $12/mo, with commercial-use rights. Prices in USD.
Where it fits
The honest way to think about StudioPilot in Live is as one more device in the chain, not a second workstation. Live stays the boss: it owns the tempo, the arrangement, and every edit after the drag. The plugin's job is narrow on purpose, to hand you the part you could not play, in your session, at your tempo, without a browser round-trip. Set it up once, and the next time a track is missing something, the fix is on the track already.
Make your next part inside your DAW
Generate vocals, instruments and beats without leaving your session. No card needed to start.
Start for free